Reading through all of the wonderful recipes our Brussels Food Friends members post, I was feeling a little left out. While there are a few recipes way back in the CheeseWeb archives, it’s not something we post these days. I wanted to share some of my favourite recipes, so when the opportunity to post them here on our BxlFF website arose, I jumped at the chance. But where to start?
Inspiration hit, when once again, I was asked if I write about cheese. (Now wherever would they get that idea?) So, I decided I’d share a series of my favourite cheese recipes with you here. Since I love Indian food as much as I love cheese, my first recipe is for Paneer, an Indian cheese.
If you’ve never made cheese before, never fear. I hadn’t either, before making paneer. Making this cheese is super easy and paneer can be used in a variety of ways. (I’ll share my favourite paneer recipe in my next post.)
All you need to make paneer
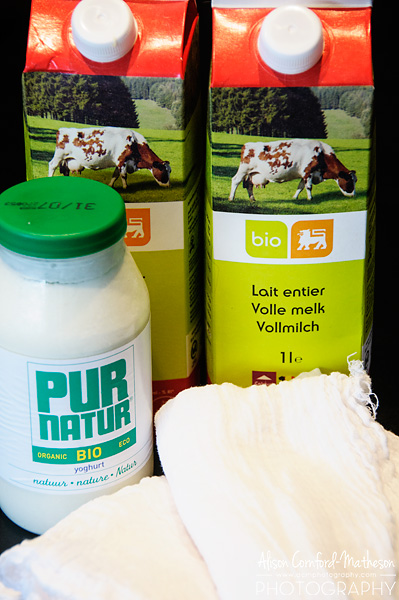
All you need to make paneer is:
- 2 litres of whole milk (Yes, you need the fat in there!)
- Roughly 200ml of plain, bio-live yogurt (OR a lemon)
- Cheesecloth (I ordered mine on Amazon
 after searching unsuccessfully for it locally)
 - A big pot
Pour all of your milk into the pot and slowly bring it to almost boiling. Make sure you have plenty of room in the pot so it doesn’t boil over (a little lesson learned. Ahem.) Keep stirring the milk as it heats to avoid it scalding and sticking to the bottom.

A nice big roomy pot is necessary
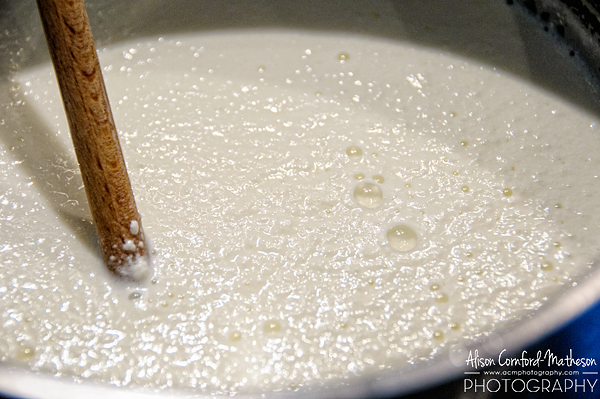
When your milk starts to get foamy, add the yogurt one spoon at a time. (You can also use a few squeezes on lemon juice instead of yogurt. I’ve read this makes a firmer paneer. I prefer the softer, richer texture the yogurt gives.)
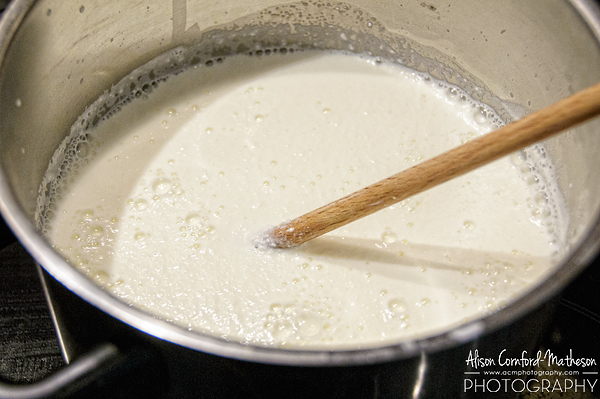
The milk is just starting to foam
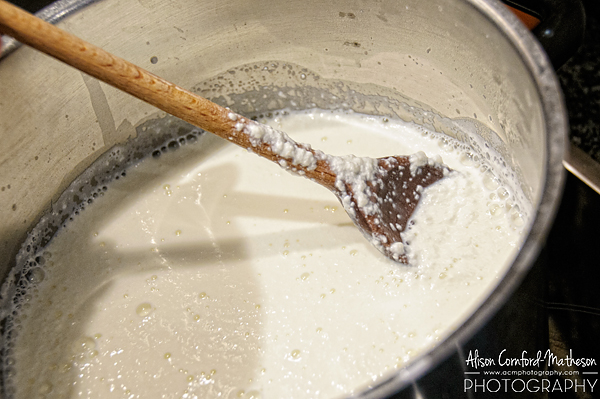
You can see the milk begin to curdle
Keep stirring, the liquid is still to milky
Your milk will start to curdle and you’ll begin to see curds forming. Keep stirring. If you aren’t getting many curds and/or your milk isn’t separating add more yogurt.
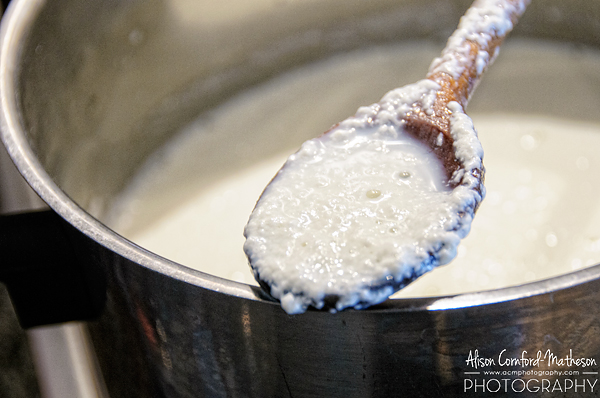
Eventually (for me it usually takes about 5 minutes) your curds will be fully formed and the liquid left will be almost clear. (If it’s still quite milky looking, keep heating, stirring, and adding yogurt.) When this happens it’s time to strain.
The curds are really starting to thicken now
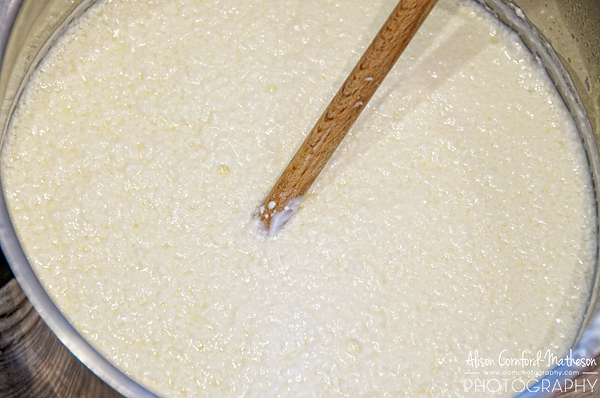
The whey is much clearer
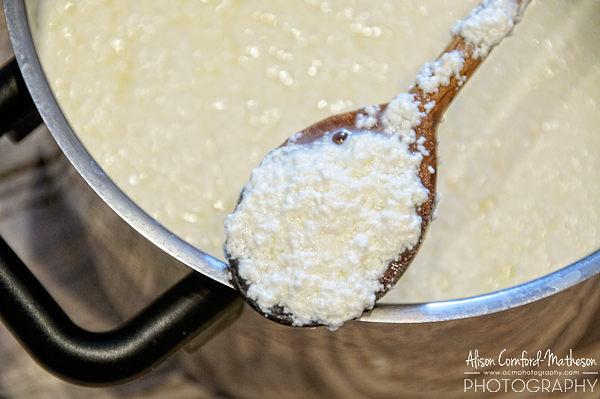
This is what your finished curds should look like
Place your cheesecloth inside a strainer (I put my strainer inside a pot too, just in case my cheesecloth slips… not that this has ever happened of course.) Slowly and carefully, pour your curds and whey into the cheesecloth. They cloth will trap your curds and the whey will be strained through (some people save the whey for use in other recipes but I don’t… yet.)
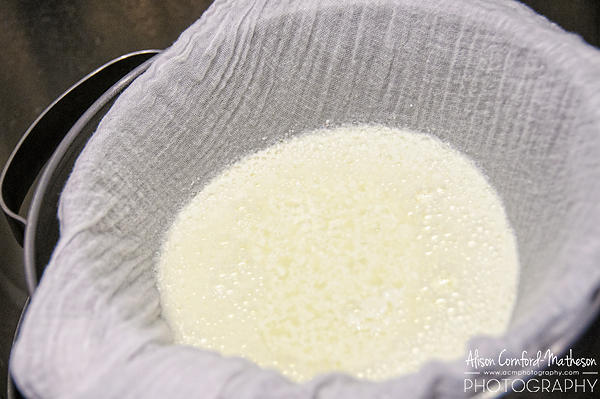
slowly start to pour your cheese into the cheesecloth
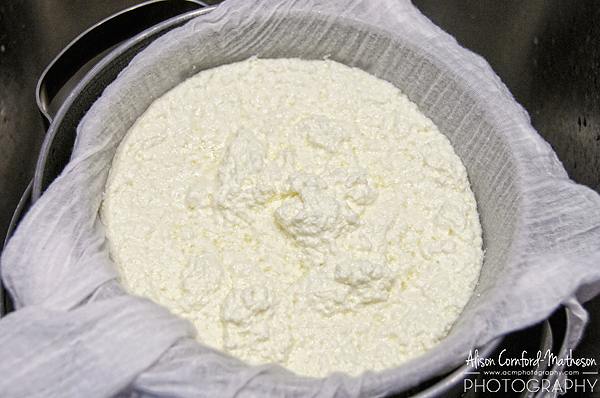
The whey will drain, leaving the curds
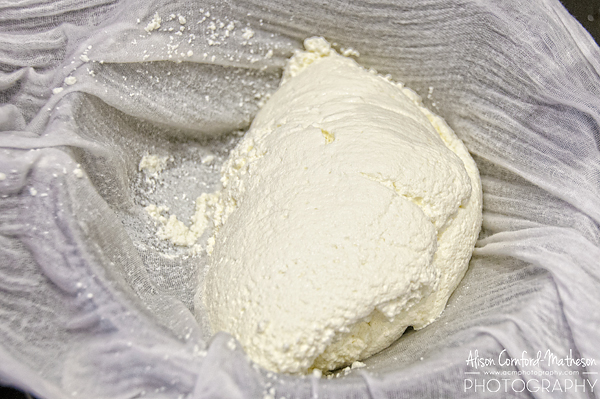
Soft, fresh cheese
Run some cold water over and through your curds so they are easier to handle and start to twist and squeeze your cheesecloth. Get as much of the water out as you can. I then hang mine over the sink for about ten minutes before giving it another good squeeze and twist.
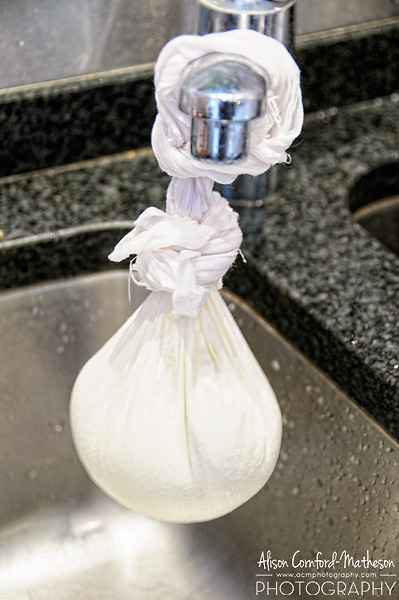
Squeeze, twist and hang
Once you have as much water as possible out, flatten your cheese to about a centimetre or so thick (still inside the cloth) and place something heavy on top to flatten it. I put mine inside a casserole dish and then place the pot I made the cheese in on top, filled with water for extra weight. Now leave your cheese for a few hours.
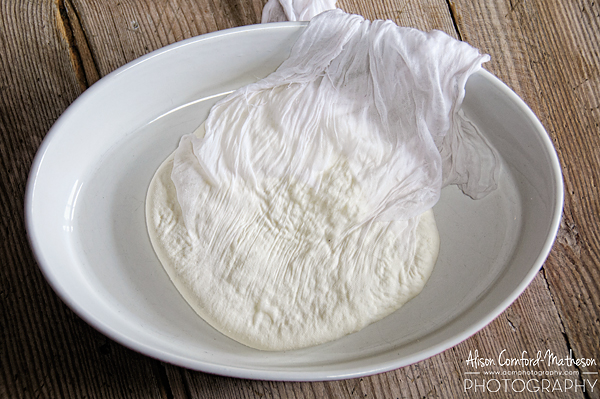
Flatten out your paneer and place something heavy on it to compress it
This final stage will squeeze out more water and help solidify your paneer.
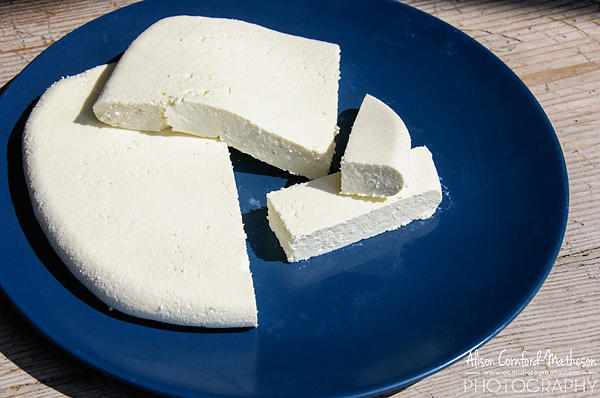
Tasty, versatile, paneer Indian cheese
When it’s ready, simply cut it to whatever size you like and use it in your favourite curry. You can also grill or fry paneer, like haloumi, or use it as you would use tofu.